How To Create and Set Permissions to PrestaShop Logins
The editing and updating of your Prestashop website can be assigned to your trusted employees. Separate logins can be created, and different permissions can be set for each. This article demonstrates:
- Creating Another PrestaShop Logins
- Creating Another Permission Profile
- Renaming a Permission Profile
- Setting Permissions in Each Profile
NOTE: Only with an Administrator permission can make these changes.
Creating Another PrestaShop Logins
Follow the steps below on how to create another username and password for another employee to manage your website:
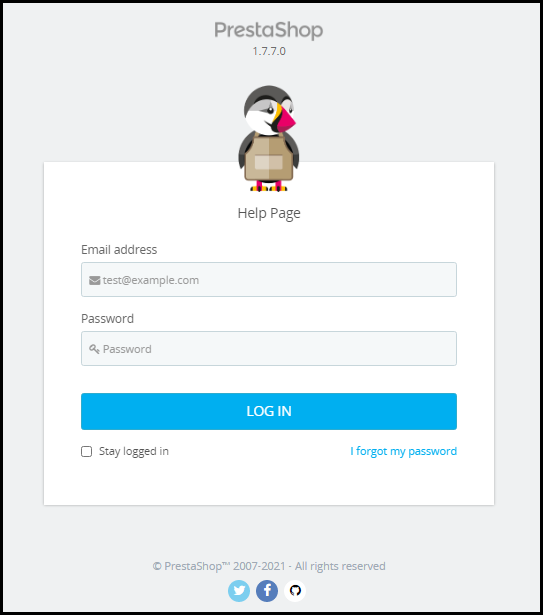
- Access your PrestaShop admin page. Use the same admin URL set up during PrestaShop installation.
TIP: Go to your PrestaShop website directory and look for the admin folder. This could have been renamed with another name during installation. If the folder has a name of admin123 for example, the admin URL of your website is http://yourdomain.com/admin123 (replace yourdomain.com with your website’s domain or subdomain).
- Log in to the PrestaShop admin page with its associated email address and password.
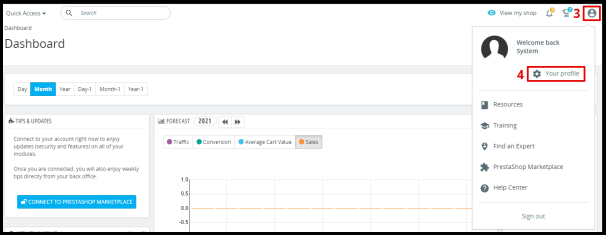
- Click the avatar of your profile on the upper right side of the page.
- Click Your Profile.
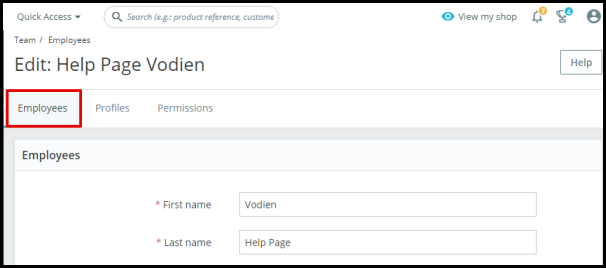
- Click Employees.
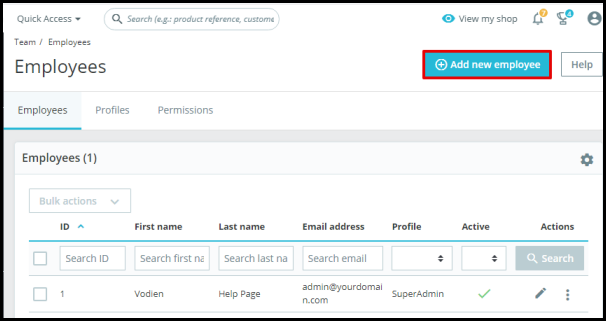
- Click Add new employee.
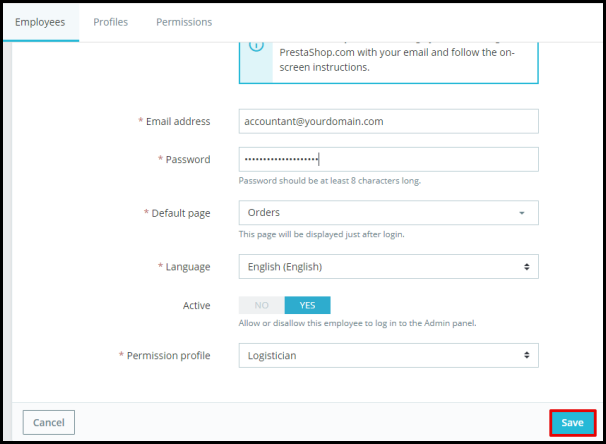
- Enter all details asked. Take note of the Email address and password entered here to provide them to the employee.
- Click Save.
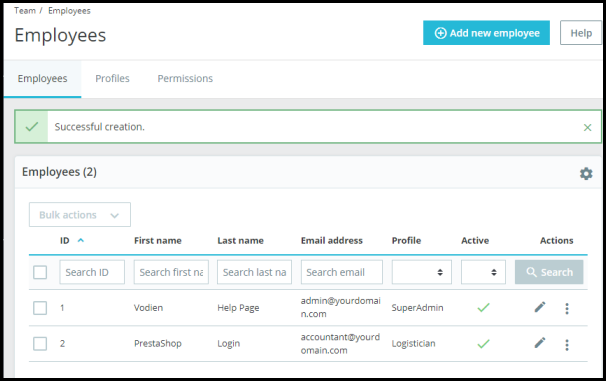
The page redirects you to the Employees list and it displays the new employee created. This page also displays Successful creation message.
Creating Another Permission Profile
Organize each employee with their own permission profile. Follow the steps below on how to add one.
- Access your PrestaShop admin page. Use the same admin URL set up during PrestaShop installation.
TIP: Go to your PrestaShop website directory and look for the admin folder. This could have been renamed with another name during installation. If the folder has a name of admin123 for example, the admin URL of your website is http://yourdomain.com/admin123 (replace yourdomain.com with your website’s domain or subdomain).
- Log in to the PrestaShop admin page with its associated email address and password.
- Click the avatar of your profile on the upper right side of the page.
- Click Your Profile.
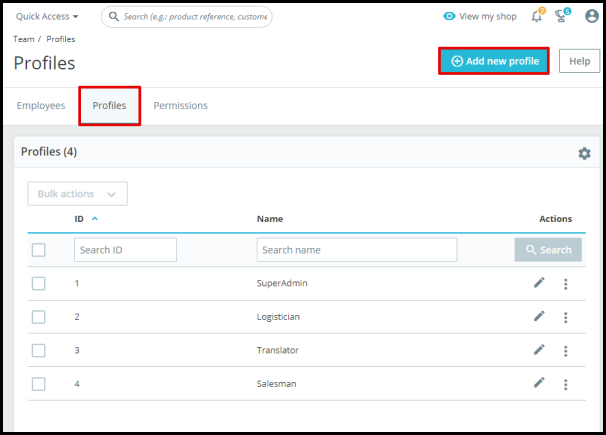
- Click Profiles then Add new profile.
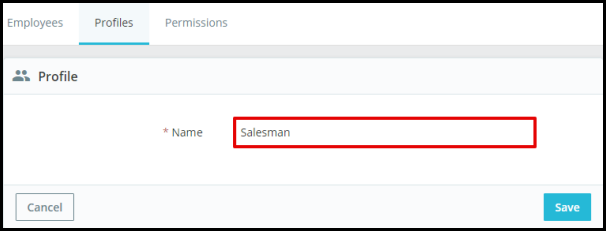
- Enter the profile name in the box provided.
- Click Save.

The page redirects you to the Profiles list and it displays the new employee created. This page also displays Successful creation message.
Renaming a Permission Profile
Follow the steps below on how to rename permission profiles:
- Access your PrestaShop admin page. Use the same admin URL set up during PrestaShop installation.
TIP: Go to your PrestaShop website directory and look for the admin folder. This could have been renamed with another name during installation. If the folder has a name of admin123 for example, the admin URL of your website is http://yourdomain.com/admin123 (replace yourdomain.com with your website’s domain or subdomain).
- Log in to the PrestaShop admin page with its associated email address and password.
- Click the avatar of your profile on the upper right side of the page.
- Click Your Profile.
- Click Profiles.
- Click the corresponding pen button of the profile to be renamed.

- Clear out the box and enter the new name for the permission profile.
- Click Save to save the changes.
The next page displays a Successful update message. The updated profile name also shows on the list.
Setting Permissions in Each Profile
Follow the steps below on how to set and modify permissions on each profile.
NOTE: Administrator permissions cannot be modified.
- Access your PrestaShop admin page. Use the same admin URL set up during PrestaShop installation.
TIP: Go to your PrestaShop website directory and look for the admin folder. This could have been renamed with another name during installation. If the folder has a name of admin123 for example, the admin URL of your website is http://yourdomain.com/admin123 (replace yourdomain.com with your website’s domain or subdomain).
- Log in to the PrestaShop admin page with its associated email address and password.
- Click the avatar of your profile on the upper right side of the page.
- Click Your Profile.
- Click Permissions.
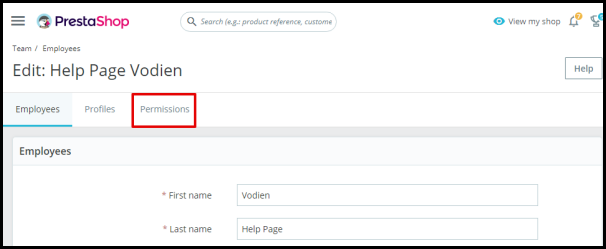
- Select the profile to be modified.

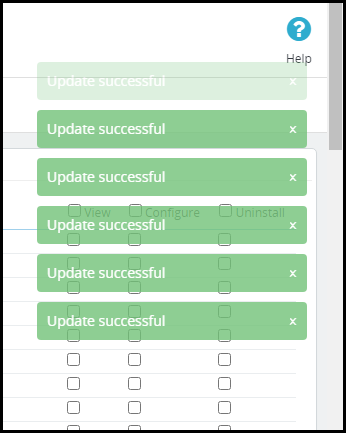
- Tick the boxes provided for each permission that you want to allow on the profile.

An Update successful message appears on the right every time changes are made on this page, as shown in the screenshot below.
Feel free to contact our Singapore or Australia Support Team if you have further questions.