How To Enable or Disable Two-Factor Authentication
In an increasingly digital world, it’s crucial to prioritize the security of your online accounts. Two-Factor Authentication (2FA) provides an extra layer of protection by requiring a secondary verification method in addition to your password. This step-by-step guide will walk you through the process of enabling and disabling 2FA, ensuring that your accounts remain secure from potential threats.
The Two-Factor Authentication consists of:
| First Step | When you log in to your account with your username and password. |
| Second Step | Enter a security code sent to your mobile phone. |
So even if someone has your login details, the second step will prevent them from accessing your account as they can’t authenticate the login attempt. Read on to know how you can manage the two-factor authentication system for your account.
Table of Contents
- How To Enable Two-Step Verification
- How To Disable Two-Step Verification
- How To Access Account Manager with Two-Step Verification
How To Enable Two-Factor Authentication
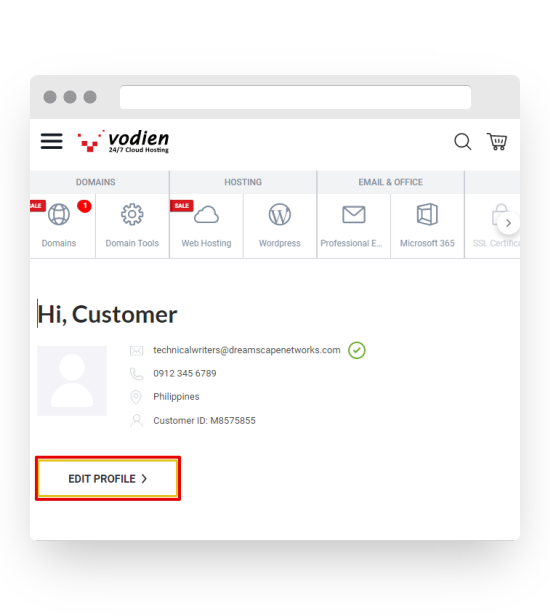
- Log in to the Account Manager.
- Click Edit Profile.
- Go to the Security tab and scroll down to the Two-step verification section.
- Tick the Enable two-step verification box.
- Specify the mobile number where you want to receive a security code each time you log in to the Account Manager.
- Click Verify.
- On the pop-up window, select your preferred verification method.
- I’m ready, call me now! – Wait for an automated call (no need to answer it). Use the last 4 digits of the calling number as the security code.
- Do not call, send me an SMS. – Wait for an SMS. Use the code to authenticate your login.
- Click Get Code.
- Enter the code that you received.
NOTE: Make sure to enter the code within 60 seconds. Otherwise, click I did not receive any SMS or I did not receive any call link to use a different verification method.
- Click Submit. A confirmation message will appear once the verification code is valid.
- Enter your Account Manager password.
- Scroll down and click Save.
How To Disable Two-Factor Authentication
- Log in to the Account Manager.
- Click Edit Profile.
- Go to the Security tab and scroll down to the Two-step verification section.
- Untick the Enable two-step verification box.
- Enter your Account Manager password.
- Scroll down and click Save.
NOTE:- If you want to remove your registered phone numbers, just click ✕ beside them.
- Note that removing a Primary Phone will make the Alternative Phone the primary. However, if you remove the Primary Phone and you have no Alternative Phone registered, the two-step verification will be disabled.
How To Access Account Manager with Two-Factor Authentication
Now that your 2FA is set, it’s time to see the settings in action. Follow the steps below to know how you can access your account with Two-Factor Authentication.
- Log in to the Account Manager.
NOTE: This time, you will receive a call on your registered phone (no need to answer it). Just take note of the last four digits of the calling number.
- Enter the last four digits of the calling number in the Phone Verification Code pop-up window.
NOTE: Tick Trust this computer if you wish to disable the system from asking for a validation code on the same device and browser. This is valid for two weeks.
- Click Submit.
NOTE:- You have 60 seconds to enter the validation code. If you fail to do so, click I did not receive any SMS or I did not receive any call link to use a different verification method or use your linked Alternative Phone number. Repeat the same process until you have successfully logged in to your account.
- You can only request three validation codes in 3 minutes. If you exceed this limit, the next request will be blocked. Until then, you must wait for 3 minutes before you can try again.