How To Set Up Titan Email on Android Gmail App
This guide will walk you through setting up your Titan email account on the Gmail app on your Android device.
IMPORTANT. To use Titan email on other email clients, you must first enable Titan for third-party apps.
Before you begin, ensure you have the following ready:
- The Gmail app installed on your phone
- Your Titan email account already created
- Webmail access confirmed (make sure you can send and receive emails)
- A stable internet connection
- Your email address and password
Set Up Titan Email on Android Gmail App
- Open the Gmail app.
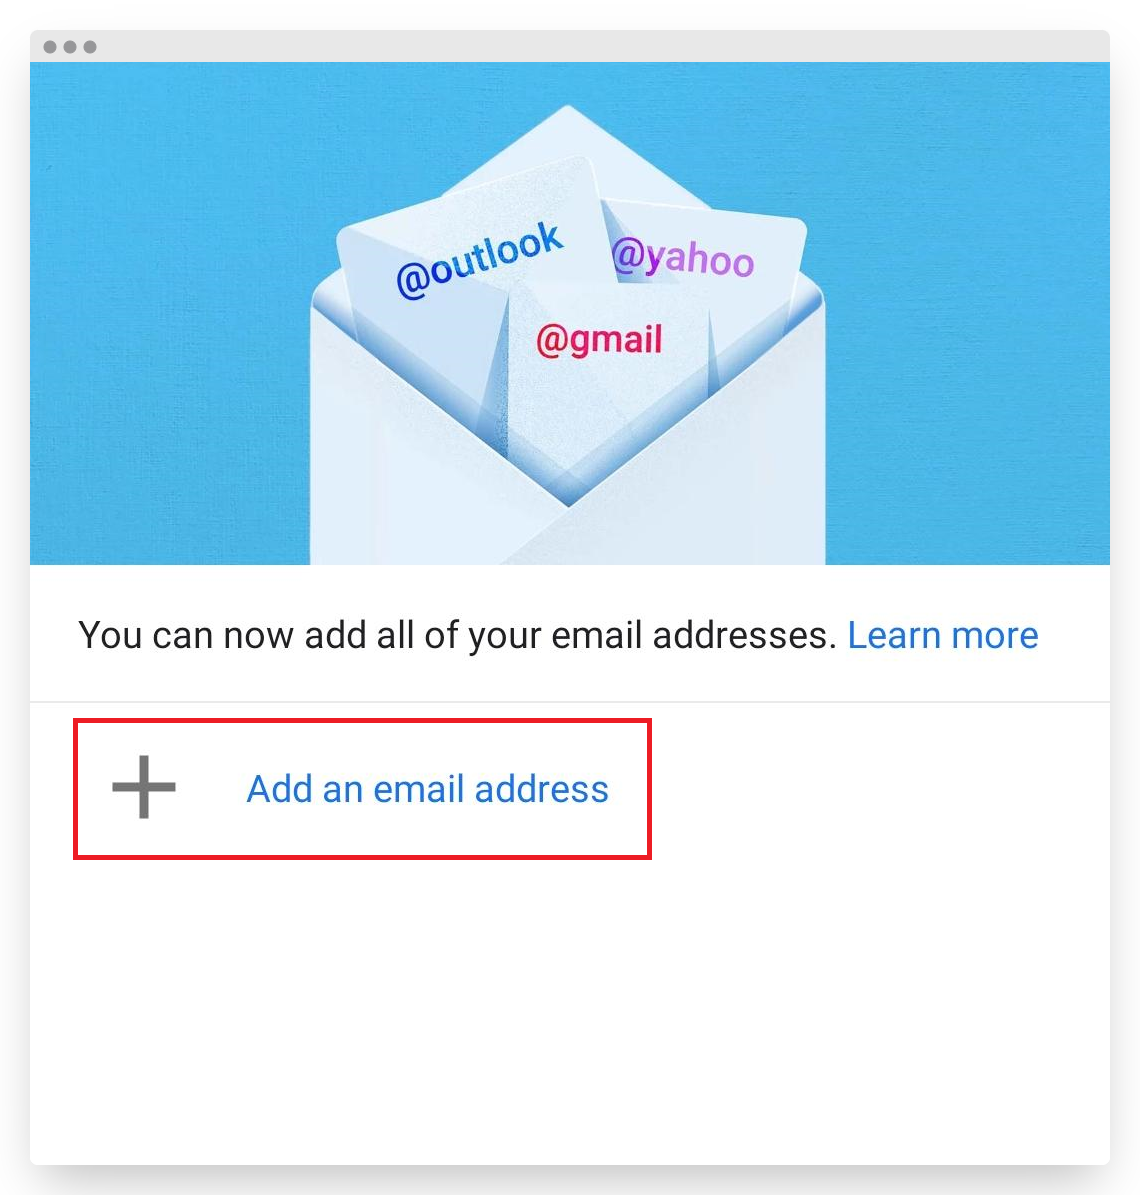
- Tap Add an email address if it’s your first-time using Gmail.
Otherwise, tap your profile on the top-right corner and select Add another account.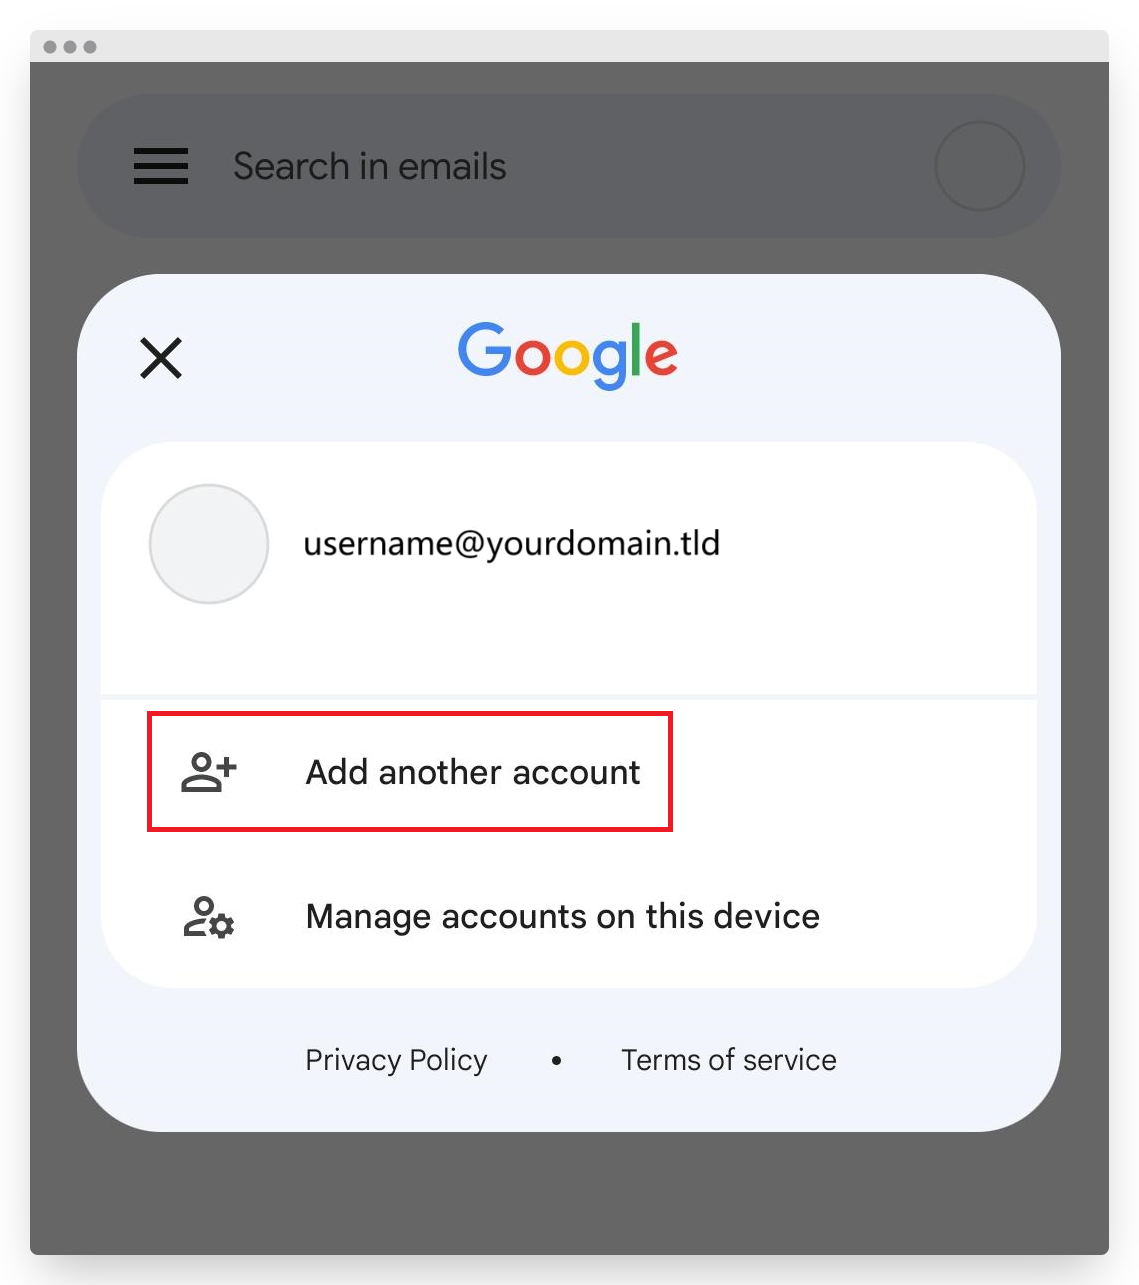
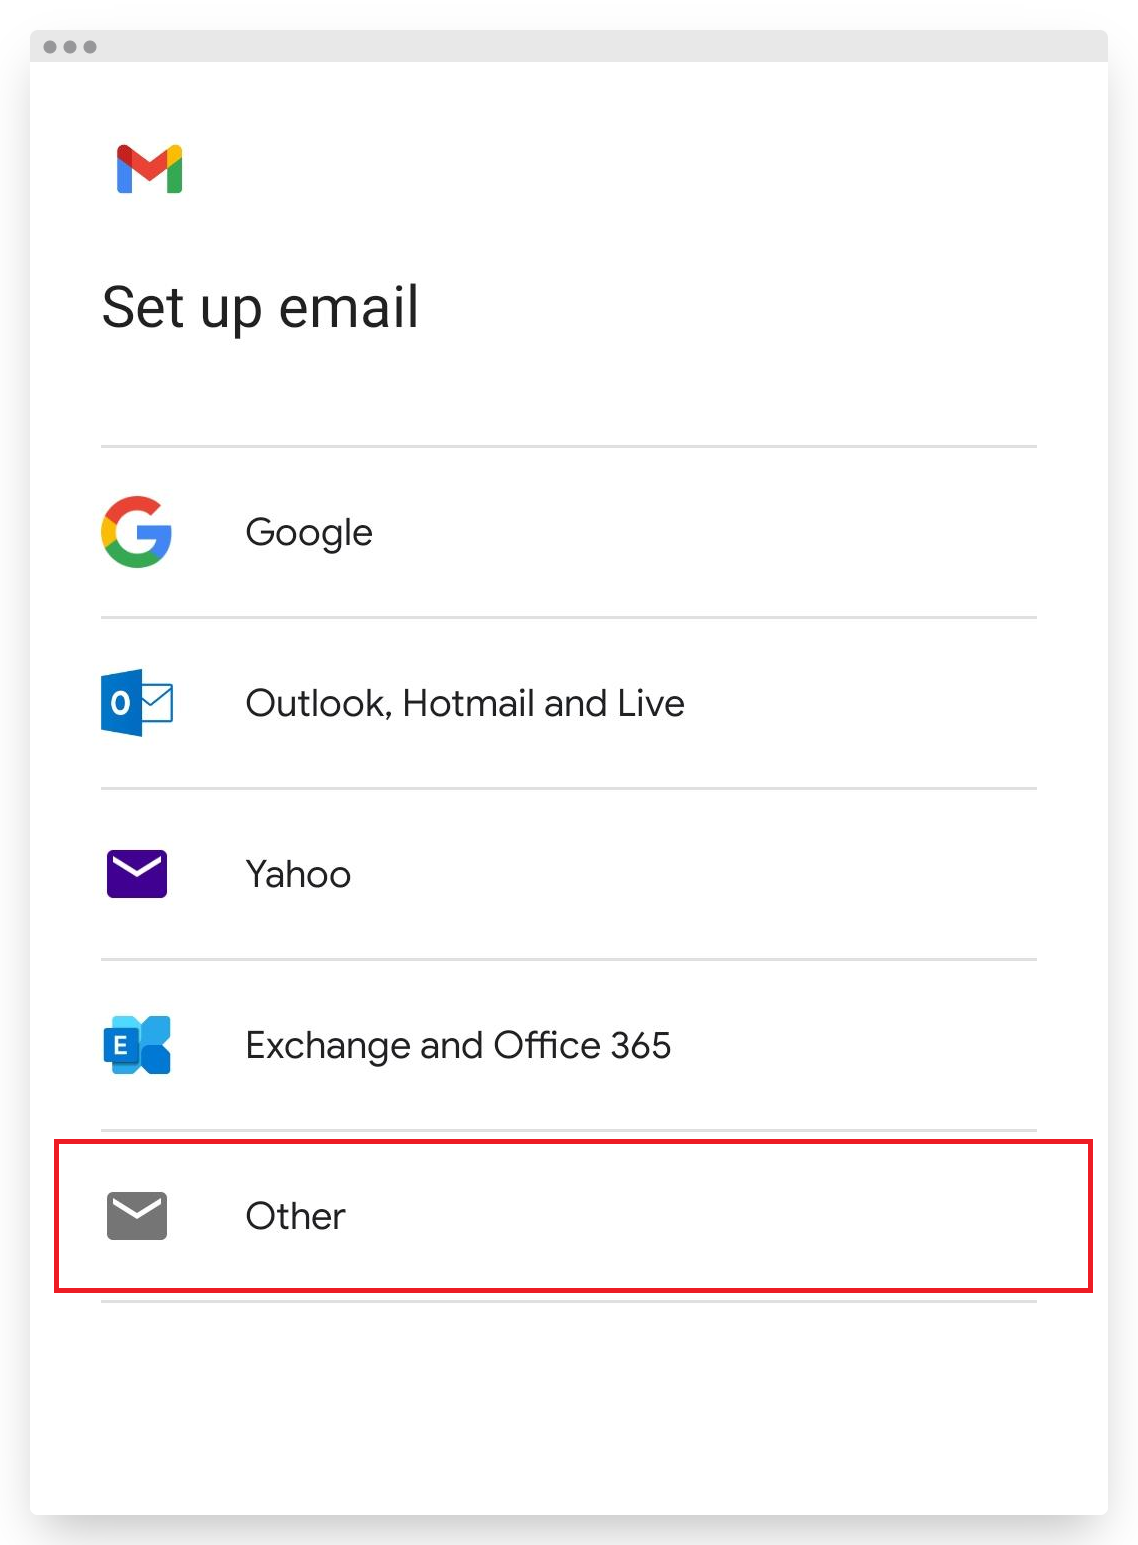
- Tap Other from the Set up email list.
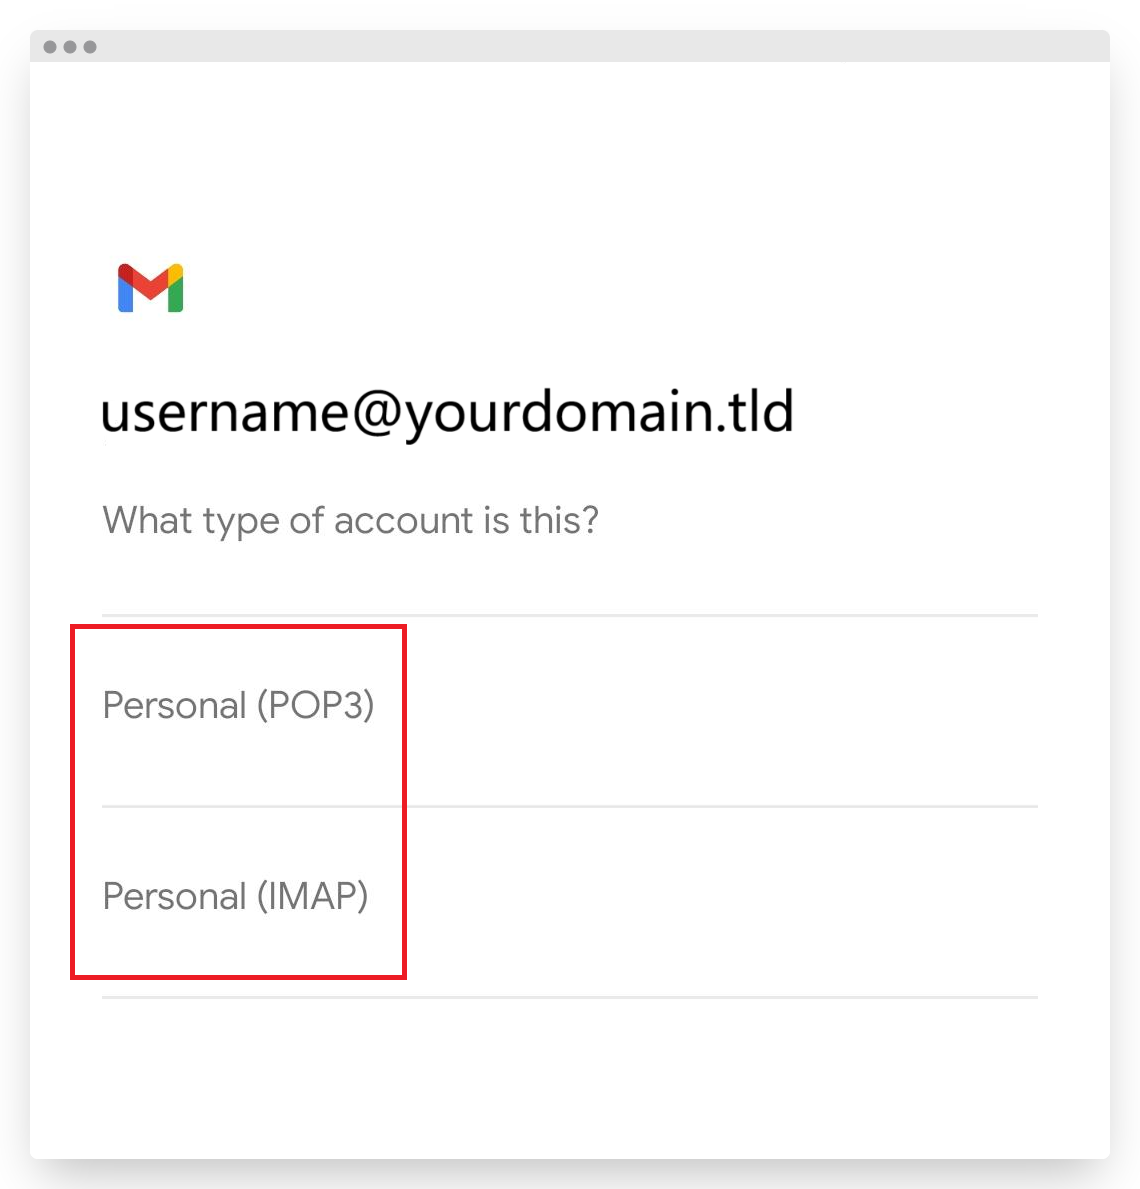
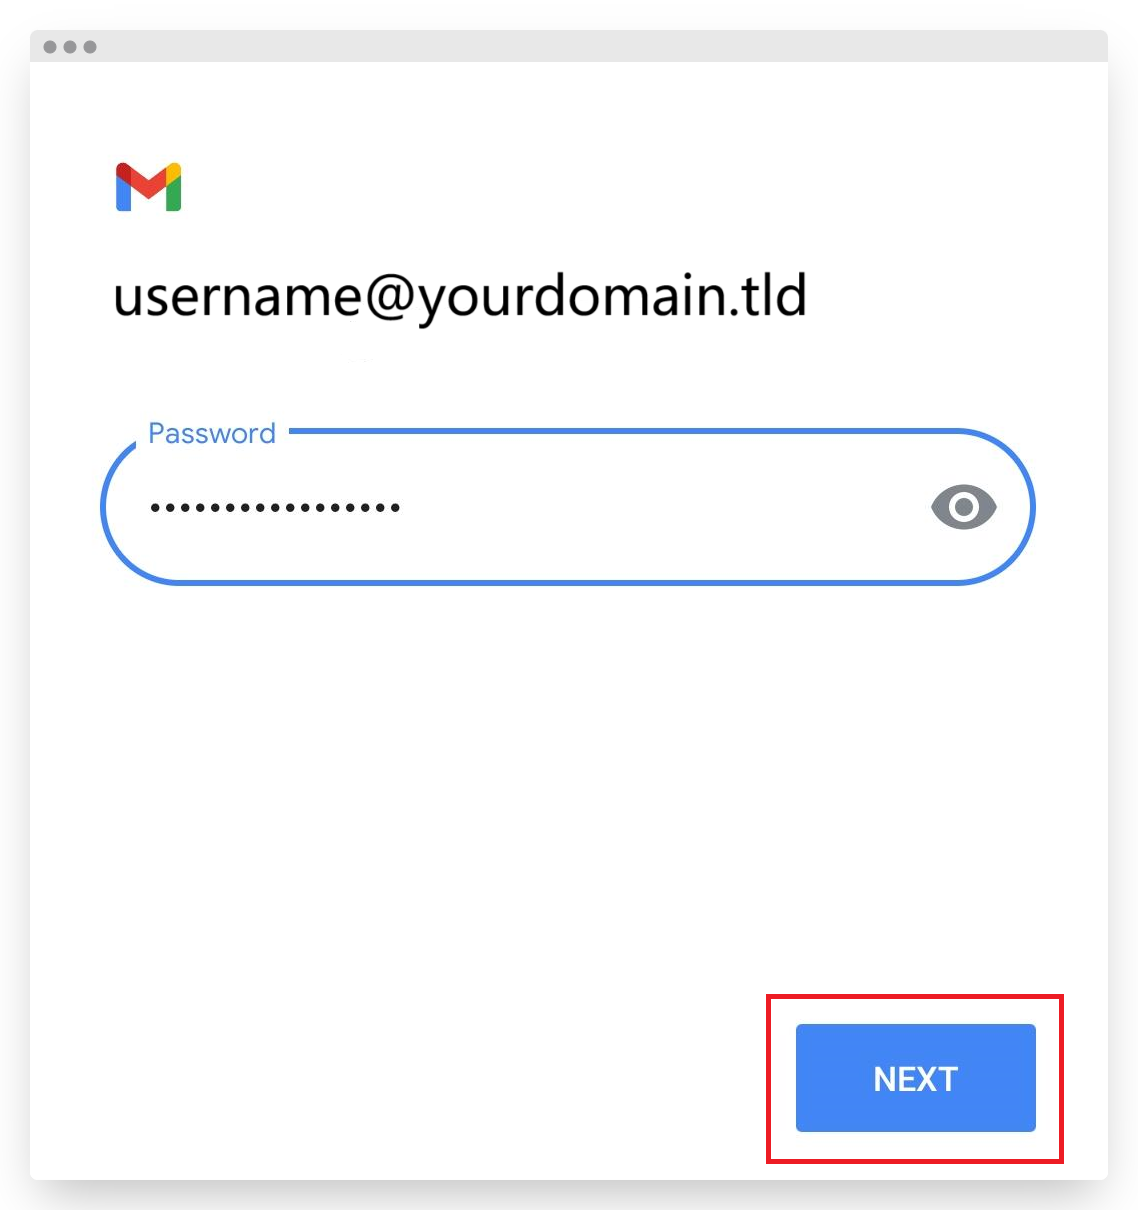
- Enter the email address you're trying to set up, and then tap Next.
- Choose your account type: POP3 or IMAP.
- Enter your password and tap Next.
- Enter the following Incoming server settings based on the account type you've chosen from Step 5.
Username Ensure that you have entered the correct email address
Password Enter the password of the Titan email account you’re trying to set up
Server IMAP: imap.titan.email
POP: pop.titan.email - Tap Next and wait as it validates your settings.
- Enter the following Outgoing server settings based on the account type you've chosen from Step 5.
Username Ensure that you have entered the correct email address
Password Ensure that you have entered the correct password
SMTP Server IMAP: smtp.titan.email
POP: smtp.titan.email - Tap Next and wait as it validates your settings.
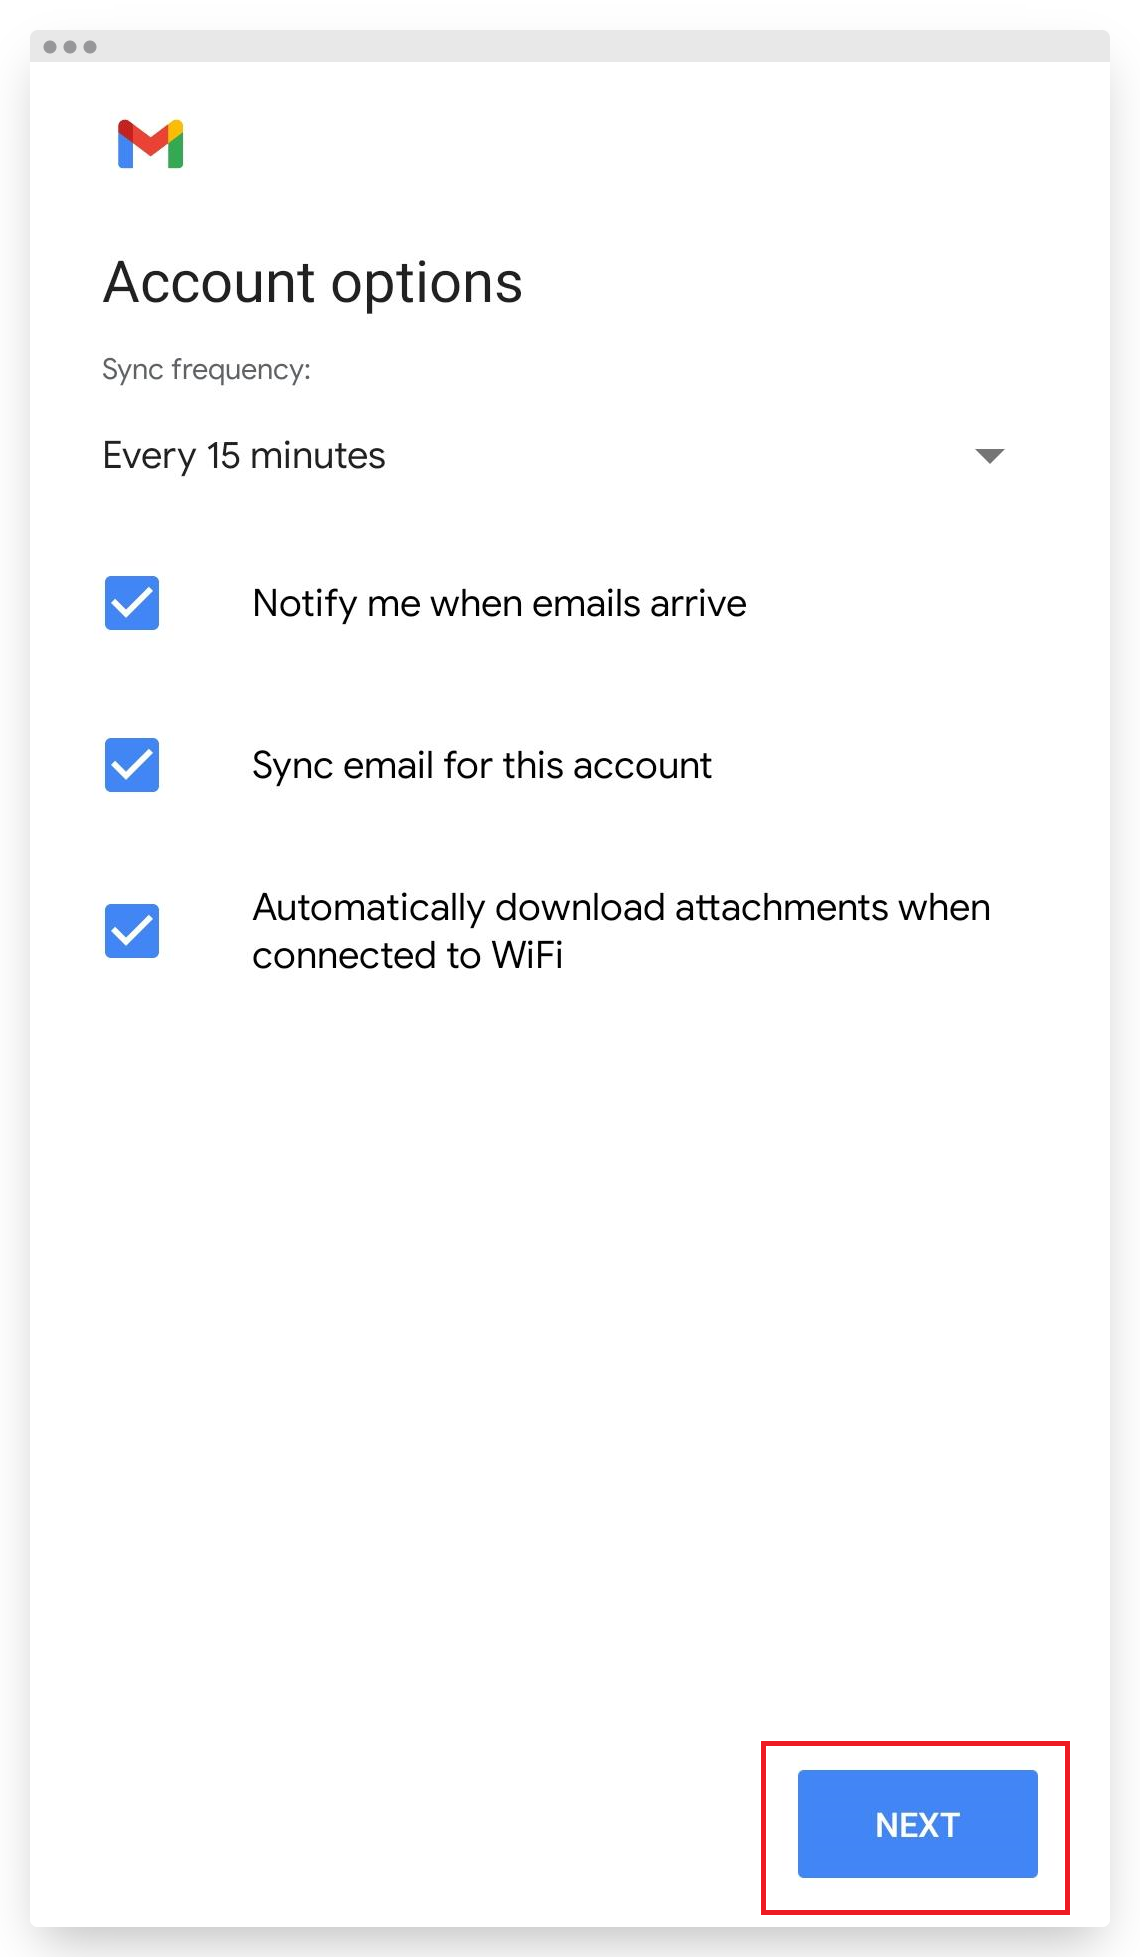
- Adjust your account preference settings, then tap Next.
- Update the Account name and Your name fields if you want, then tap Next.
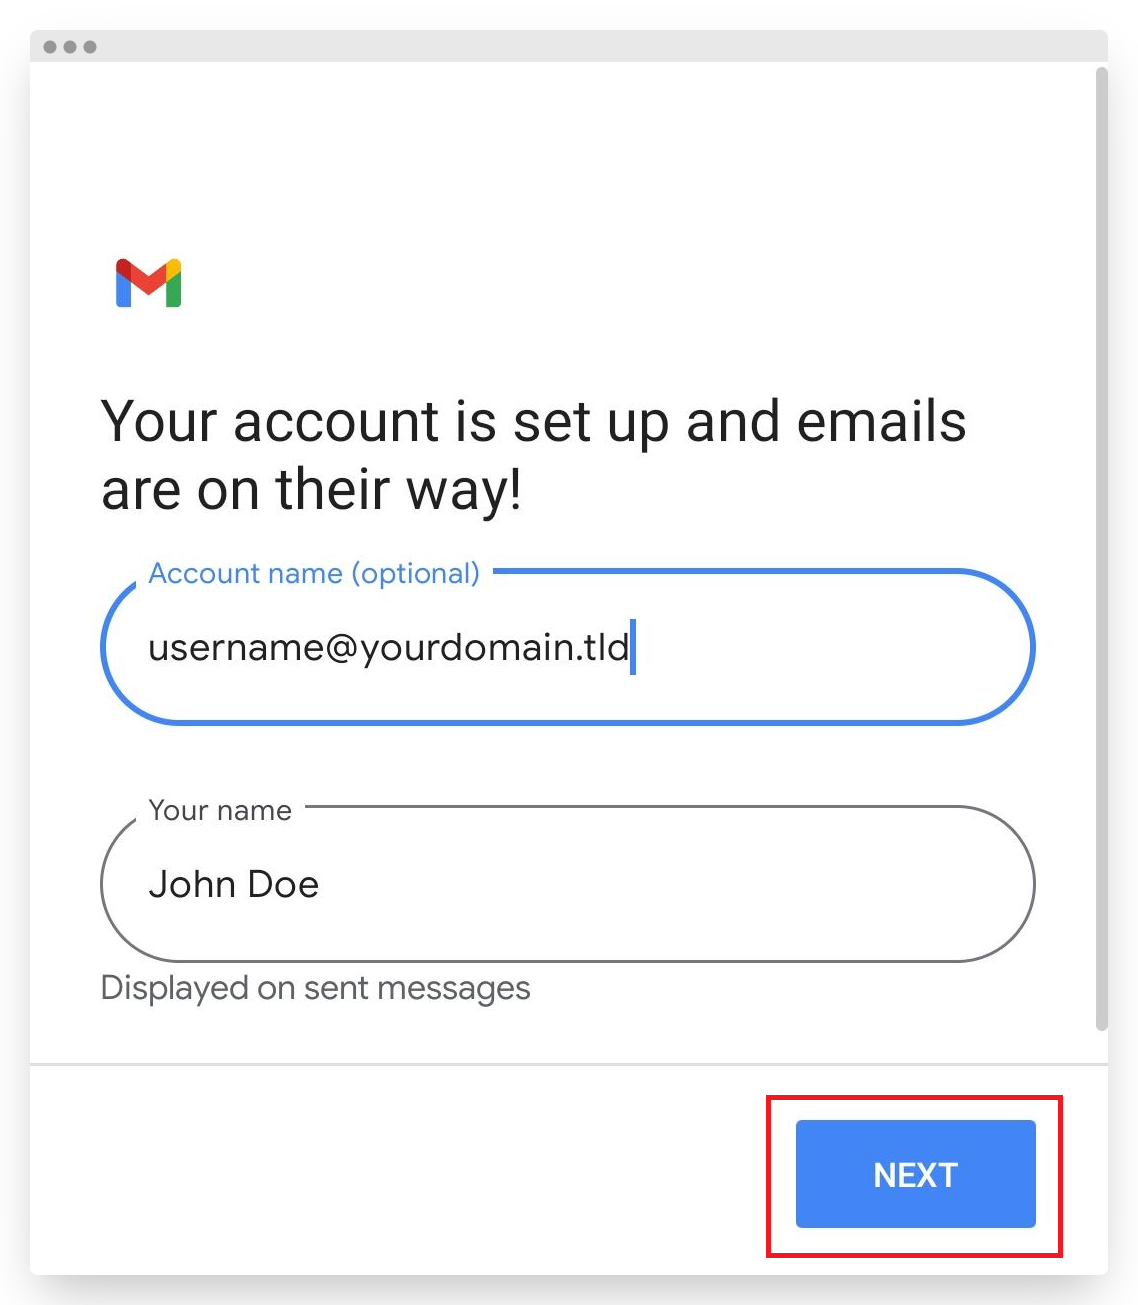
After completing these steps, you’ll be directed to your Gmail inbox. To view your newly added Titan email account, tap your profile picture and select the Titan account from the list. You should now be able to access your inbox.
Edit Existing Email Client Settings
If your Titan email account is already set up but not working properly, follow these steps to review and edit your server settings:
- In Gmail, tap the 3-line icon in the top-left corner.
- Select Settings.
- Select the Titan email account you need to update.
- Scroll down to the Server settings section.
- Make the necessary changes to the Incoming and Outgoing server settings. Refer to the tables above for the correct server settings.
- Tap Done to save your changes.
- Allow some time for your messages to completely load as you may not immediately see them after setting up your email account.
- Make sure to send a test email to confirm that everything is working correctly.