Knowledge Base
How To Put Drupal in Maintenance Mode
Putting your website under maintenance mode allows your website to be offline for a while without affecting its search engine rankings. Enabling the maintenance mode of your website sends an HTTP request 503 to search engines telling them that the website is temporarily available. Thus, they should try again later on.
Below are the possible scenarios to put Drupal in maintenance mode:
- You are not ready to publish the site
- There are changes on the website you do not want your website visitors to see
- You want to update the version of your website
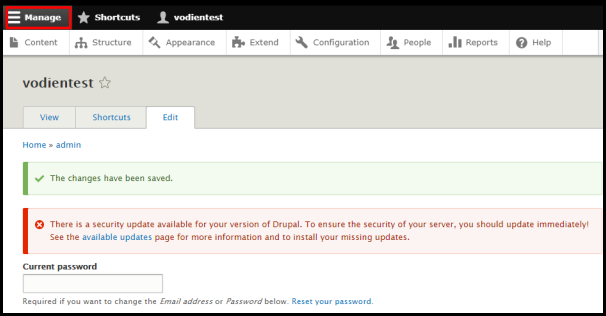
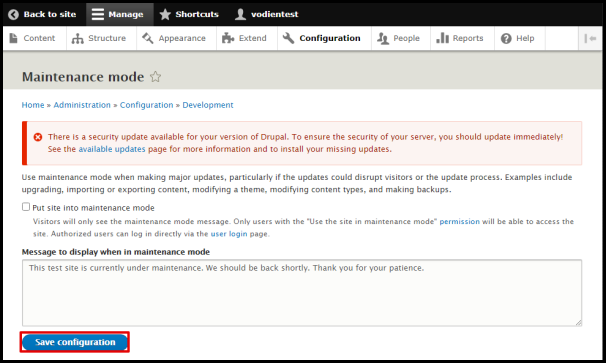
- Log in to your Drupal dashboard via the link yourdomain.com/user/login (replace yourdomain.com with the domain of your website) or via Softaculous Apps Installer in cPanel.
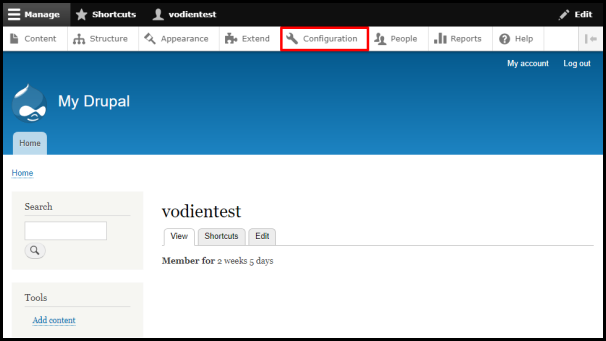
- Click the Manage drop-down.
- Click the Configuration button.
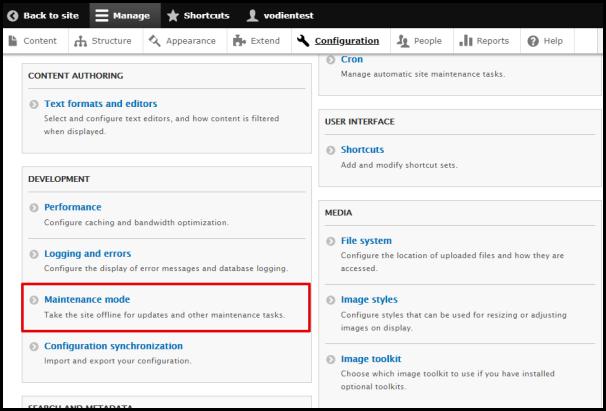
- Click Maintenance Mode under DEVELOPMENT section.
- Tick the box to Put site into maintenance mode and enter the Message to display when in maintenance mode in the box provided.
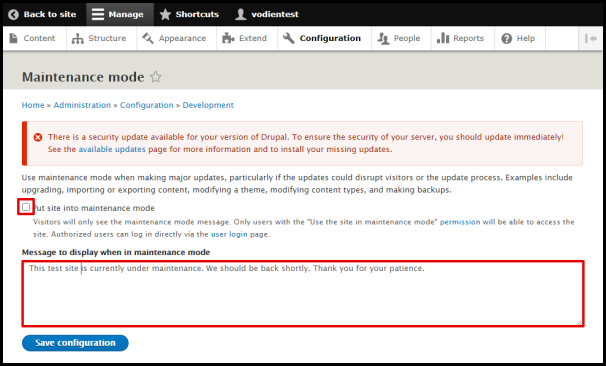
- Click the Save configuration button to apply the changes to your website.
Your website should now display the maintenance mode message when someone tries to access it.
Once you’re ready to make the website live again, follow the same steps provided above and uncheck the Put site into maintenance mode box.
Feel free to contact our Singapore or Australia Support Team if you have further questions.
Did you find this article helpful?