How To Set Up Titan Email in Outlook for Microsoft 365
This step-by-step guide will walk you through setting up your Vodien Titan email account in the new Outlook for Windows app for Microsoft 365.
IMPORTANT. To set up and access your Titan email on other email clients successfully, you must first enable Titan for third-party apps.
Before you proceed, make sure you have:
- downloaded and installed the new Outlook for Microsoft 365 app on your desktop
- created your email account already
- tried accessing the email via webmail and confirmed that sending and receiving is working
- a stable internet connection
- your email address and password handy
Set Up Titan Email in the New Outlook for Windows
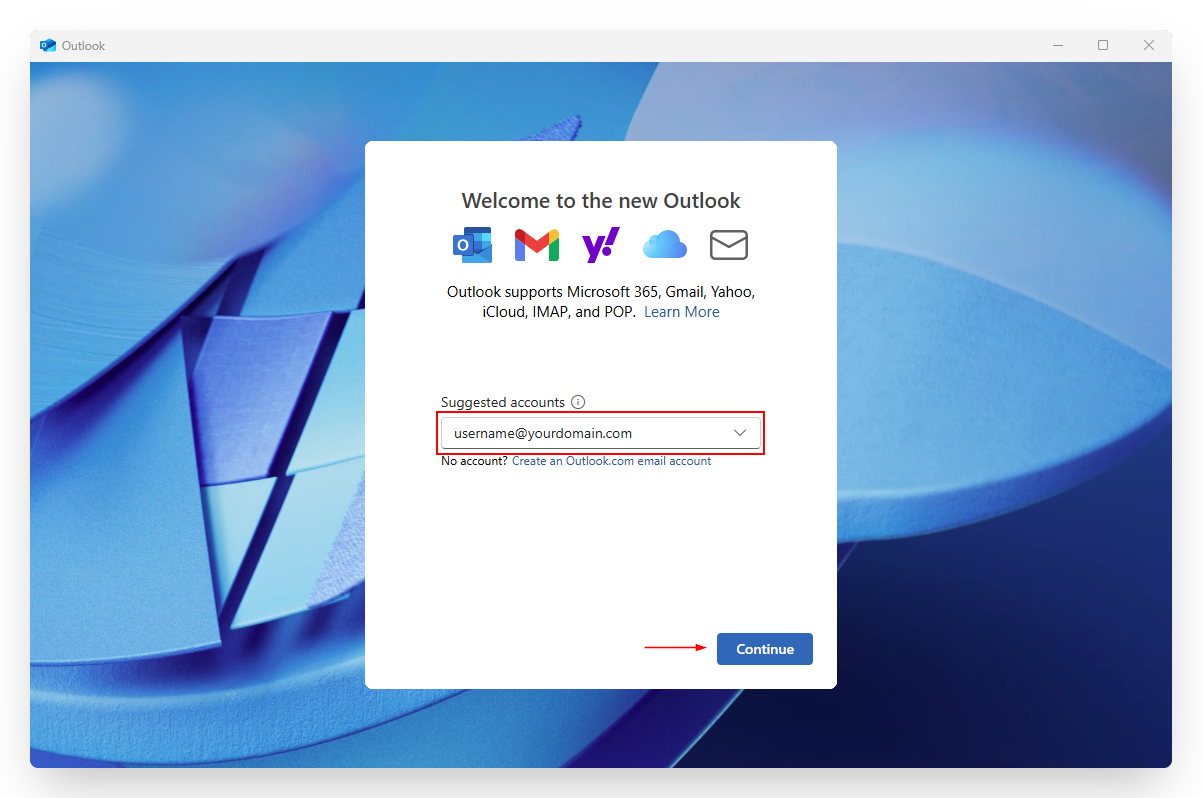
- Open the new Outlook app.
- On the pop-up screen, enter the email address you want to set up, then click Continue.
- From the list of email providers, choose IMAP or POP.
- Enter your email password and toggle on the Show more button.
- Enter the settings based on the account type you selected (IMAP or POP):
IMAP ACCOUNT SETTINGS POP ACCOUNT SETTINGS IMAP Incoming server
imap.titan.email
Port
993
Secure connection type
SSL/TLS (recommended)SMTP username
Your Titan email addressSMTP password
Your email passwordSMTP Outgoing server
smtp.titan.email
Port
465
Secure connection type
SSL/TLS (recommended)POP Incoming server
pop.titan.email
Port
995
Secure connection type
SSL/TLS (recommended)SMTP username
Your Titan email addressSMTP password
Your email passwordSMTP Outgoing server
smtp.titan.email
Port
465
Secure connection type
SSL/TLS (recommended) - Click Continue > Next > Continue.
Once the setup is complete, you will be directed to your email account inbox.
Edit Existing Email Client Settings
If your email isn’t working after adding it to Outlook, follow these steps to check and edit the server settings:
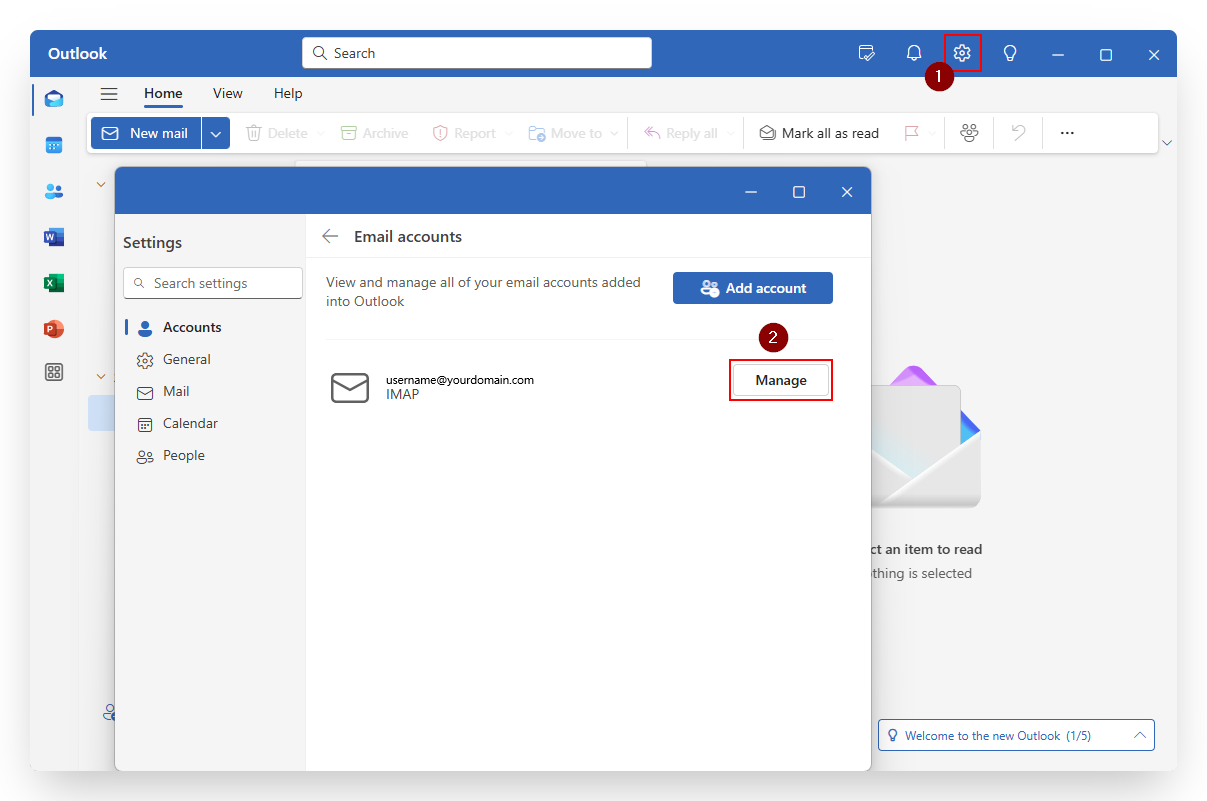
- In the Outlook app, click the Settings (gear) icon.
- Click Manage next to your email address.
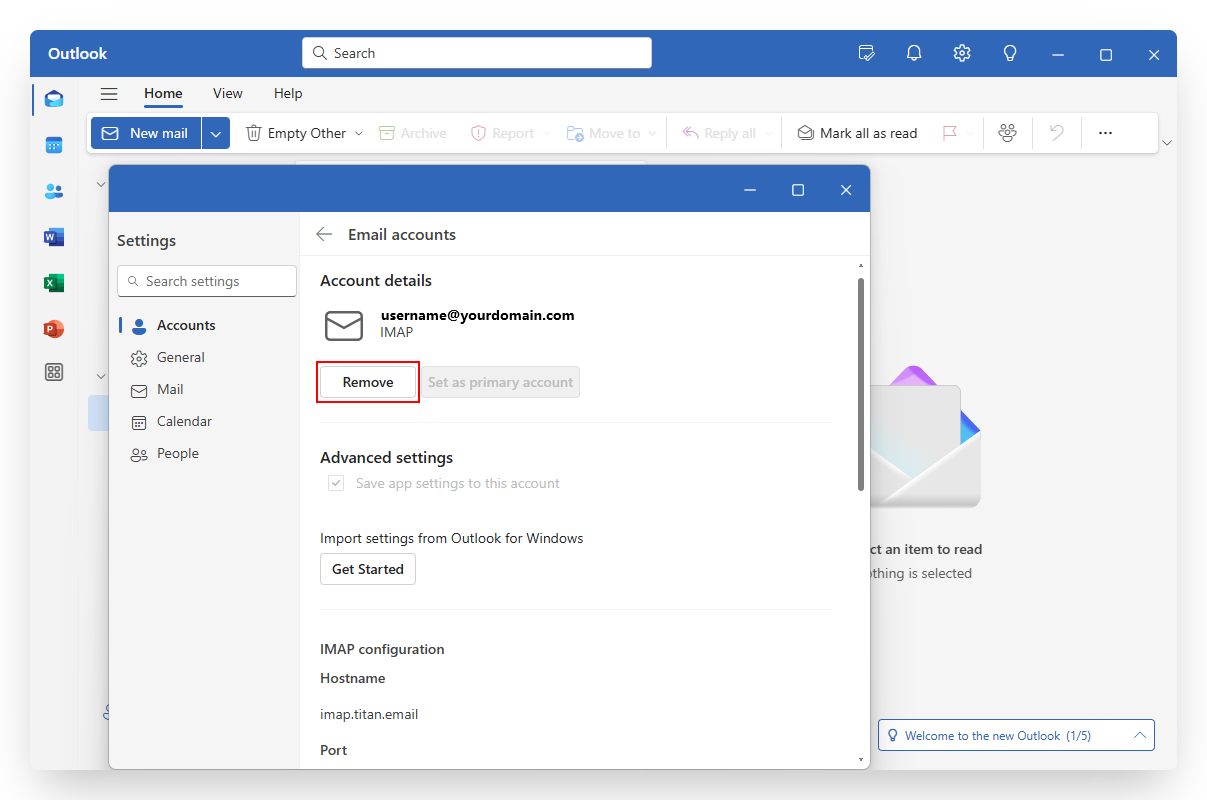
- Check the IMAP and SMTP settings. If you need to make changes, click Repair.
- Enter the correct email settings. Refer to the table above.
- Click Continue to save your changes.
If you're unable to update the settings, click Remove to delete the account, then try setting it up again.
- Allow some time for your messages to completely load as you may not immediately see them after setting up your email account.
- Make sure to send a test email to confirm that everything is working correctly.