How To Install PrestaShop in Control Panel
PrestaShop is an e-commerce-based website application that you can use for your online store. An easy way to install it is through the cPanel (Control Panel) via Softaculous Apps Installer. Softaculous is a cPanel feature where open-source web applications like PrestaShop, WordPress, Joomla, Magento, among others, can be installed so that websites can be managed virtually. The website needs to be installed first so that it can be managed via cPanel.
Follow the steps below on how to install PrestaShop with Softaculous.
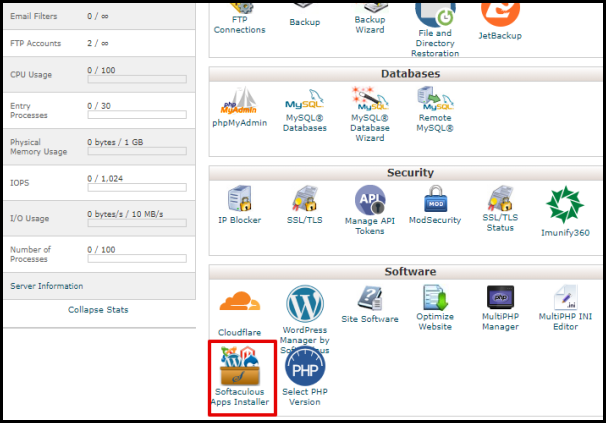
- Log in to cPanel.
- Click the Softaculous Apps Installer icon found under Software menu.
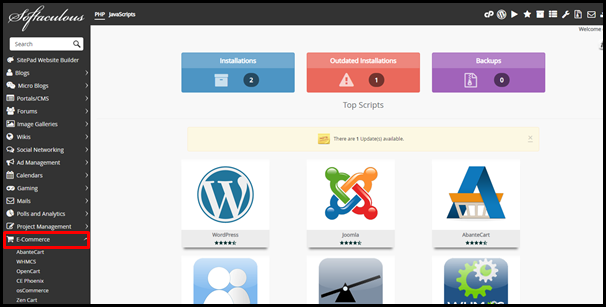
- Click E-Commerce on the menu bar on the left side of the page.
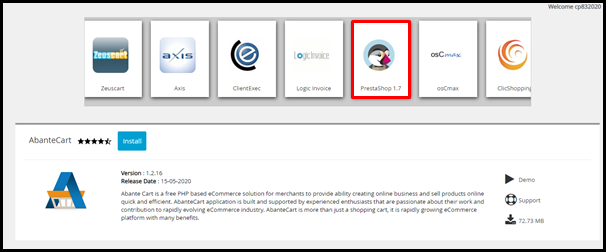
- Look for PrestaShop 1.7 from the drop-down, or among the icons on the center of the page. Click the PrestaShop 1.7 button. The search box on the upper left side of the page can also be used.
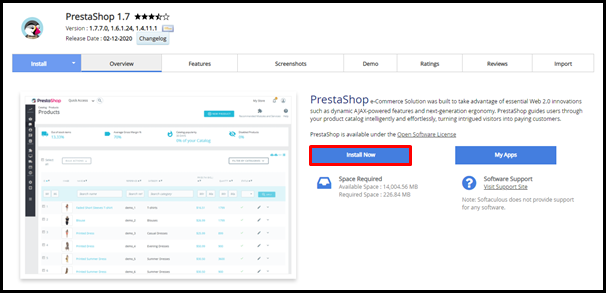
- Click the Install Now button.
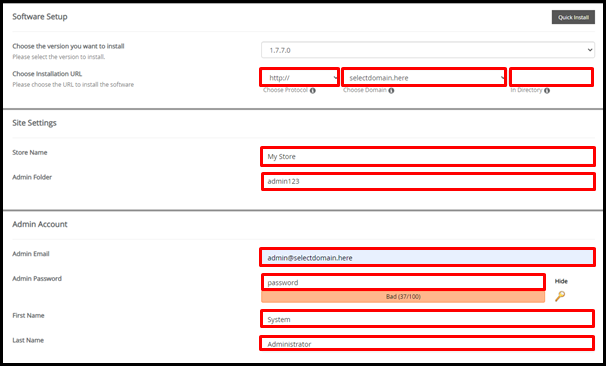
- Customise the settings for your PrestaShop. Take note of the important fields below that need to be configured. You may consult your web developer on what to put for the rest of the boxes. If you are unsure of the specifications, you can leave it as it is. Other fields can be configured after installation via the PrestaShop admin page.
- Choose Installation URL – Click the drop-down menu to choose the domain where PrestaShop will be installed. Click each tooltip on the corresponding boxes where you are editing to get more details about each field.
NOTE: Make sure to leave the In Directory field blank to avoid the website having a URL of http://selectdomain.here/joomla instead of just http://selectdomain.here similar to the example shown in the screenshot below.
- Store Name – Enter your store name in the box on the right.
- Admin Folder – Enter your desired directory or admin page URL in the corresponding box on the right.
- Admin Account – Replace each box on this section with your preferred email, password, and name. The details on this section would be the primary information or contact for your PrestaShop website where notifications are sent.
- Choose Installation URL – Click the drop-down menu to choose the domain where PrestaShop will be installed. Click each tooltip on the corresponding boxes where you are editing to get more details about each field.
- Click the [+] plus sign beside Advanced Options to see if there are configurations needed to be changed on the section. Click each corresponding tooltip on the details that you are editing to get more details about each field.
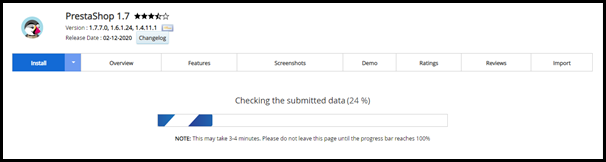
- Click the Install button after making sure all necessary details are correct and updated.

- Wait until the installation is complete. The progress will show on the page as presented in the screenshot below.
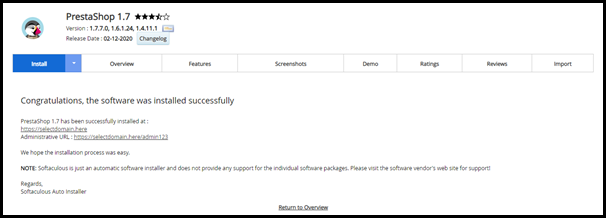
A message shown on the screenshot below will appear once the installation is completed. You can now start editing the website by accessing the PrestaShop admin page with the URL provided on the same page or by following the instructions on how to access admin pages.
Do not hesitate to contact our Singapore or Australia Support Team if you have further questions.